Paper Setup
Full step-by-step procedure. If a good quality device ICC profile already exists, this procedure can be reduced.
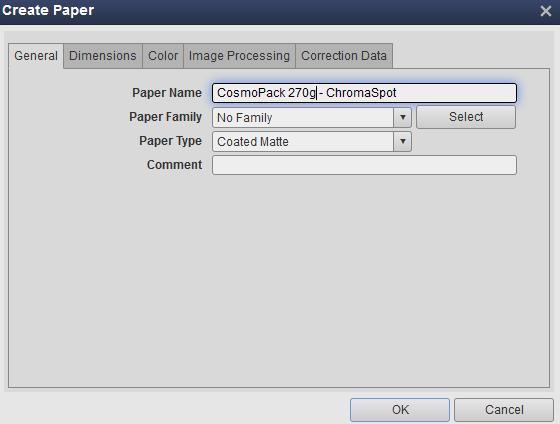
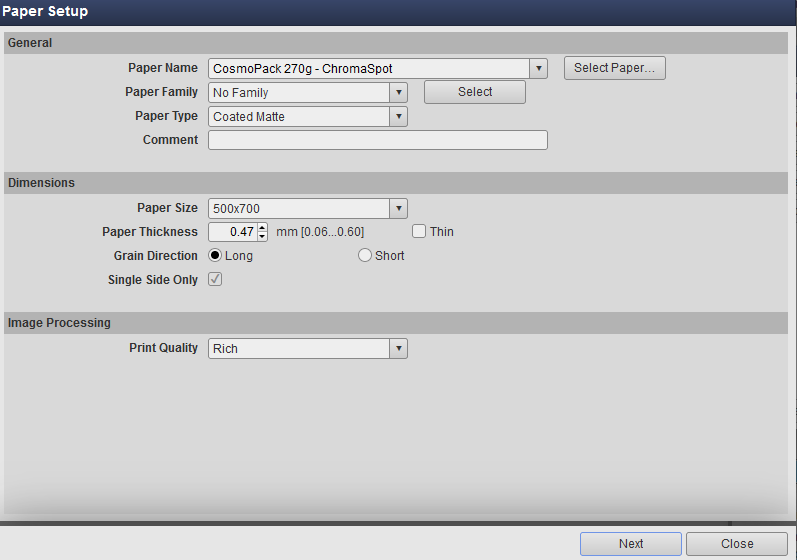
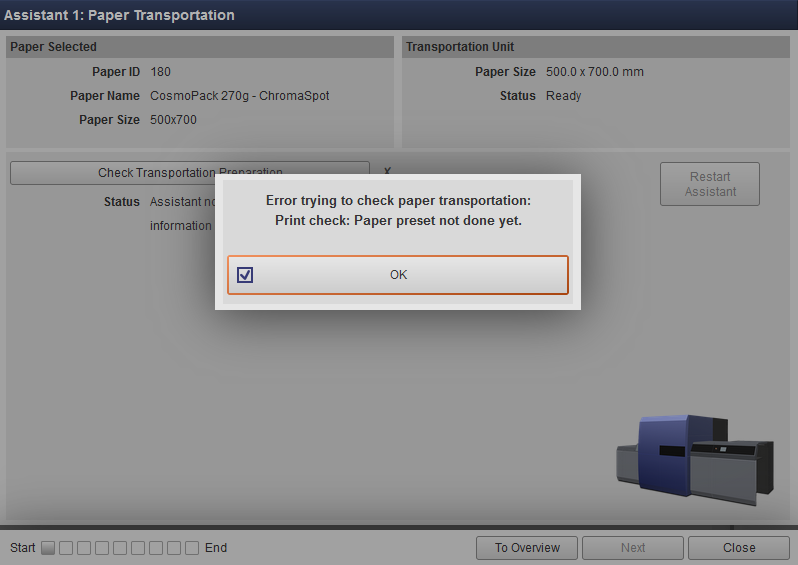
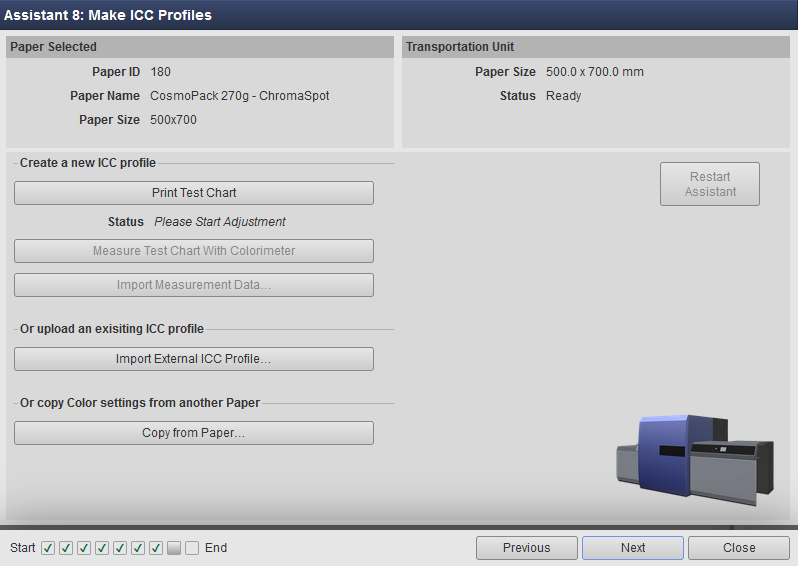
1. Creating a new substrate definition - Paper Setup.
Each new substrate requires a separate definition; each new print finish is also a new substrate. Therefore, if laminating with a selected foil is planned in the printing process, each combination of substrate and foil type and all print settings requires a separate definition. Therefore, if we have three variants for one substrate
- print without finishing
- print with lamination with matte foil
- print with lamination with gloss foil
we will have to create three independent definitions.

2. Click next to start the procedure when a series of prints will be produced. The system will automatically optimize all key settings.
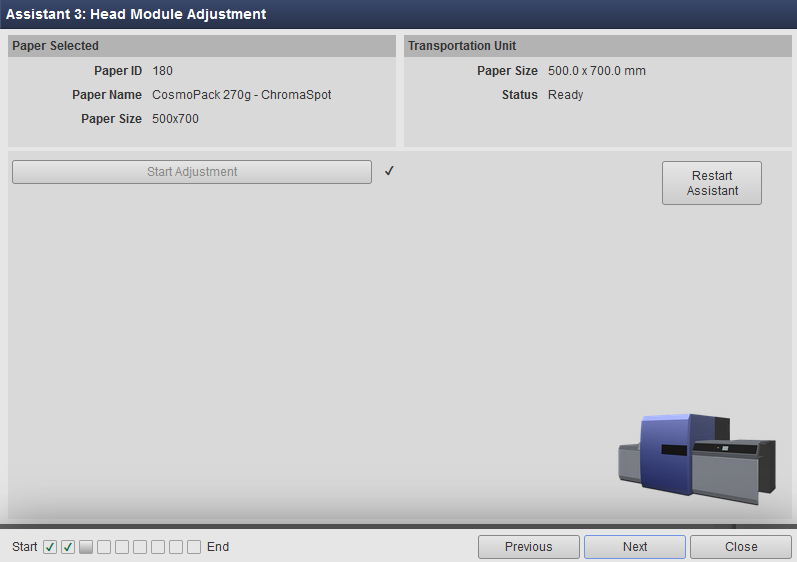

Head modules are adjusted, and the printer is ready to measure color and finally create an ICC profile
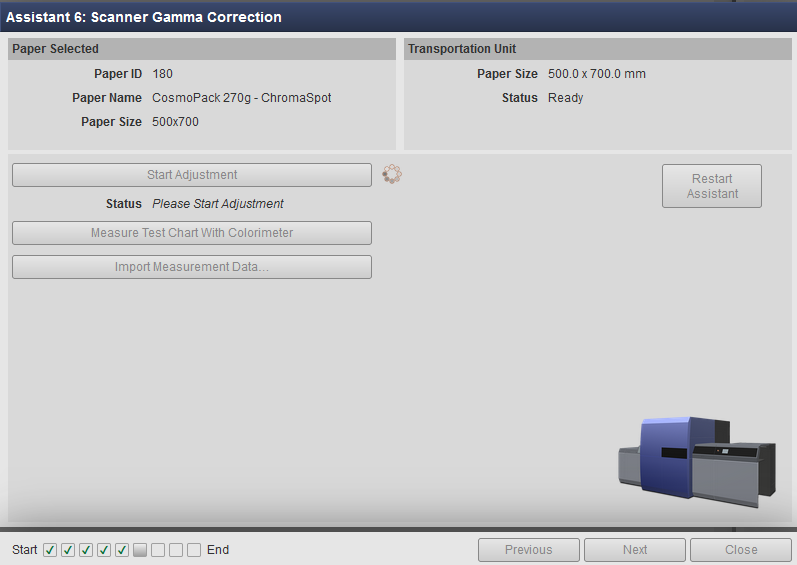
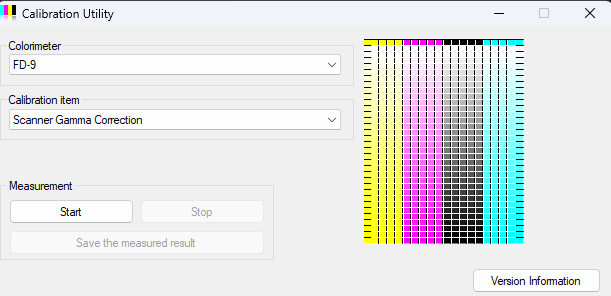
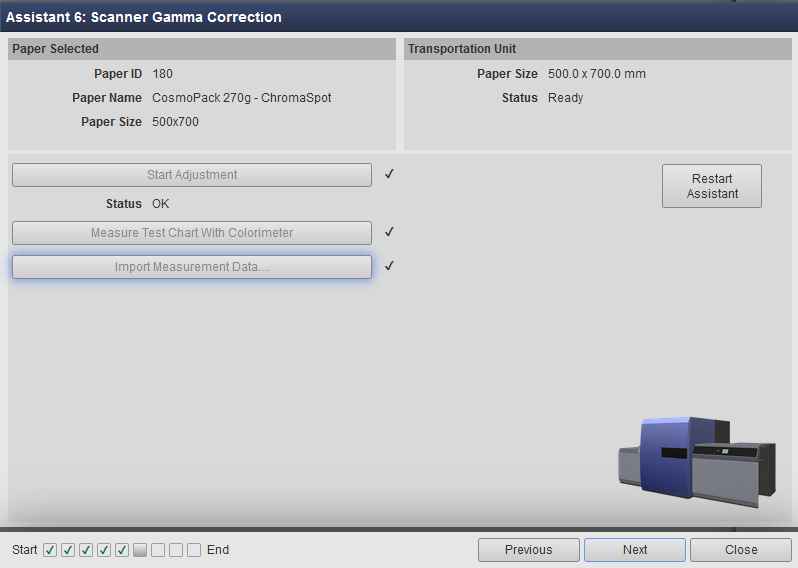
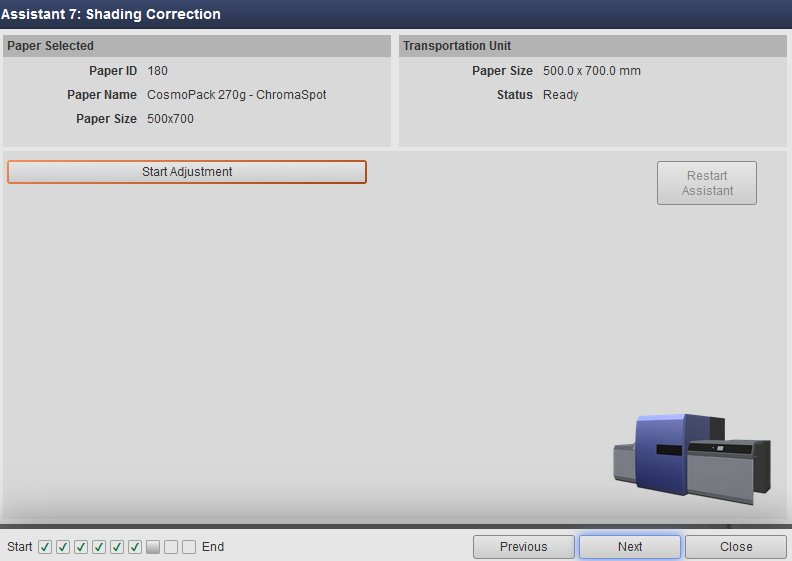
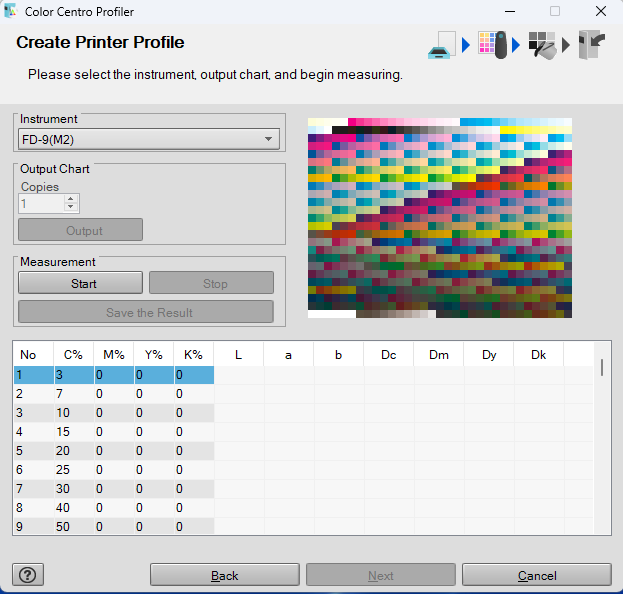
3. Connect Myiro-9 to perform calibration steps.
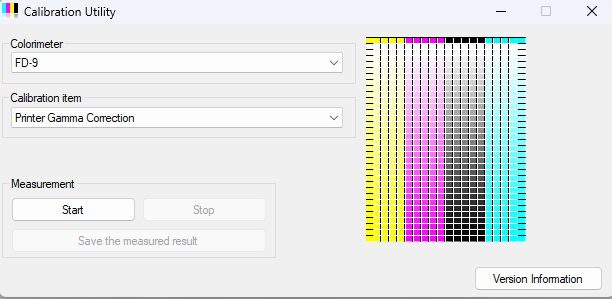
Gamma correction is applied based on measurements.
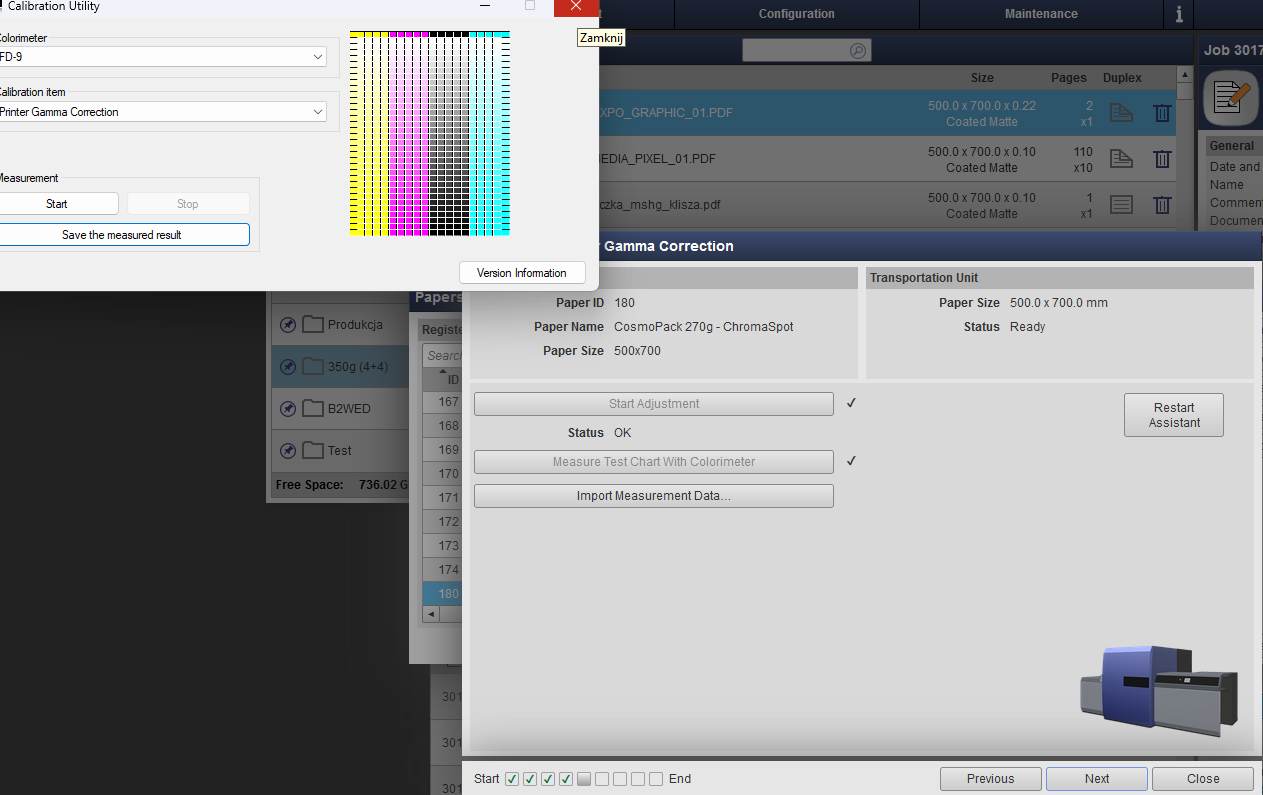
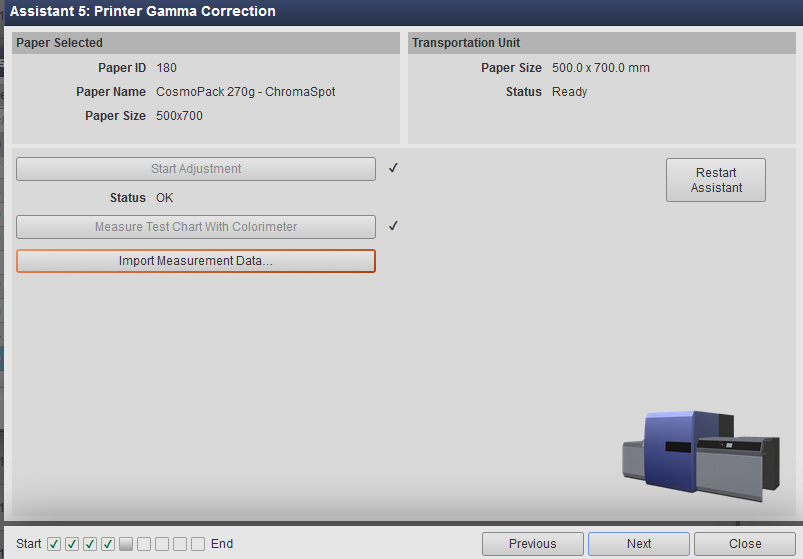
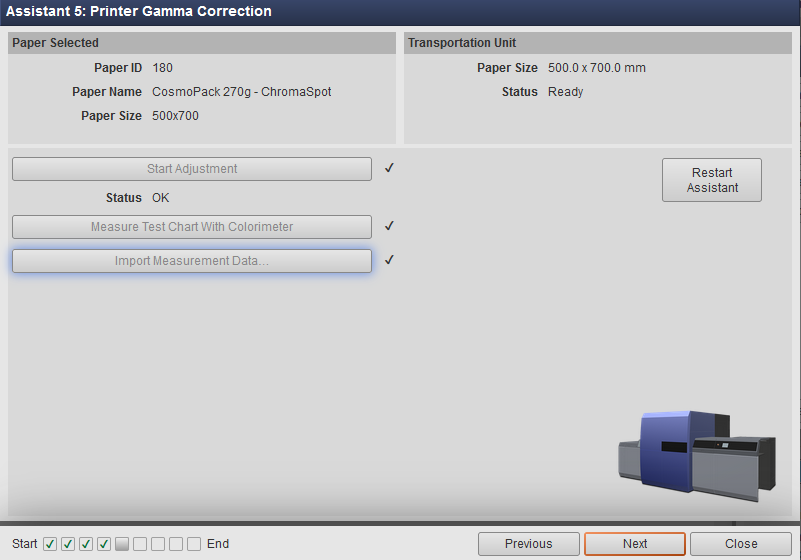

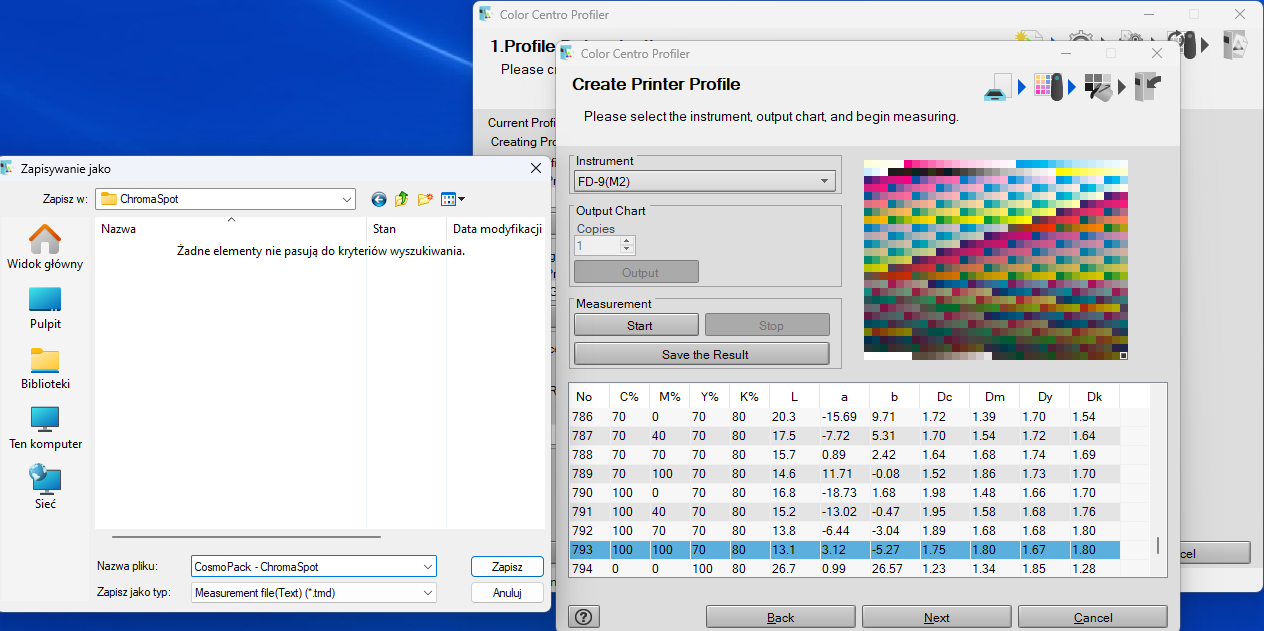
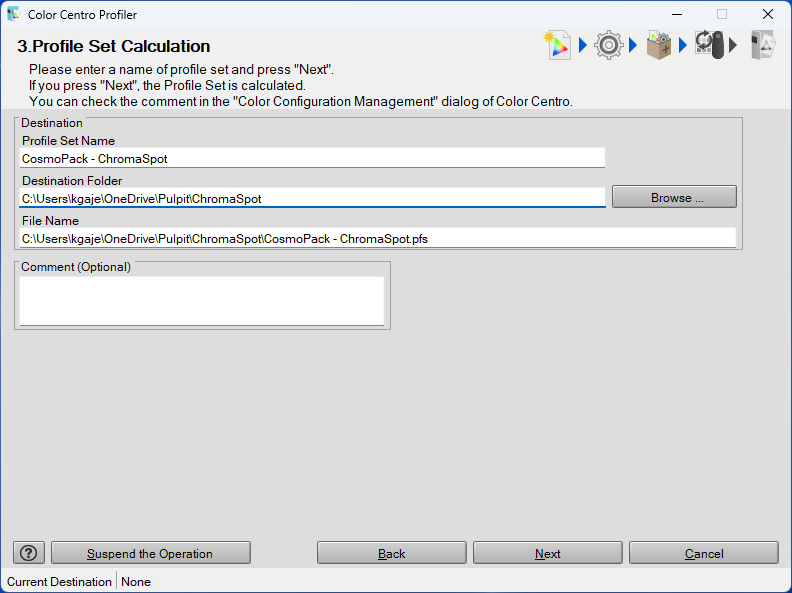
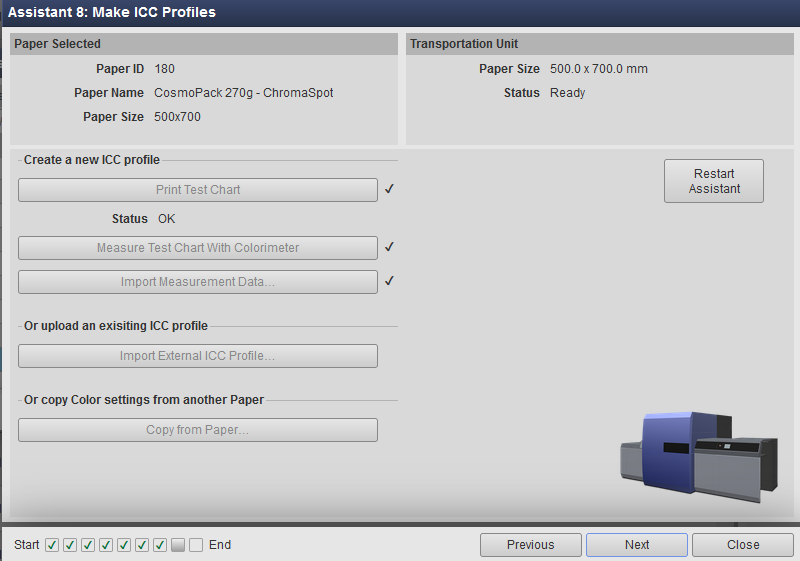
4. The next step is ICC Profile creation
It is essential to understand that Color Scan Match uses the device profile created in this step as a starting point for the iteration. We must make, save, and upload it to ChromaChecker Cloud to enable CC Capture to use it.
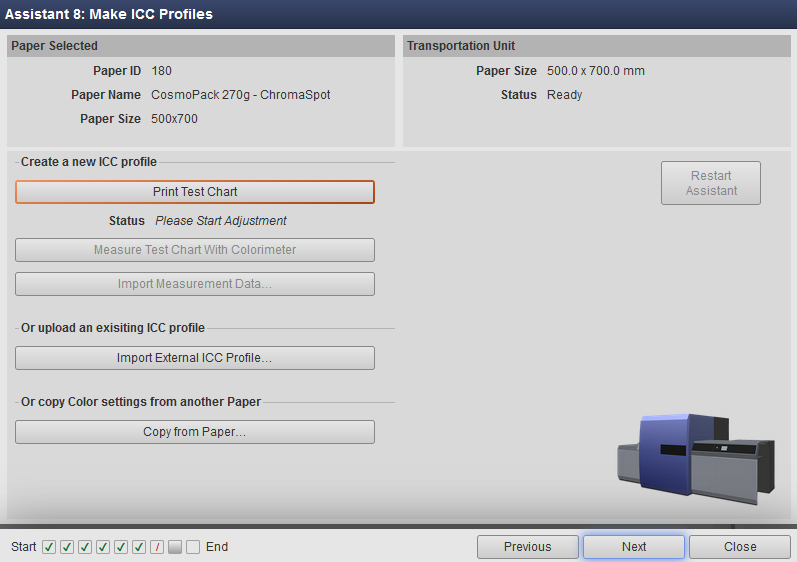
In this case, we are using Color Centro Profiler.
Important note:
ChromaSpot Fanbook: Use paper with moderate OBAs and select M2 for profile generation and all measurements. If your substrate ID OBA Index is around 7, you may expect very good results for all M-conditions! ChromaSpot is created based on measurements on samples printed on paper with a moderate OBA Index. Substrate fluorescence will compensate for most readings!
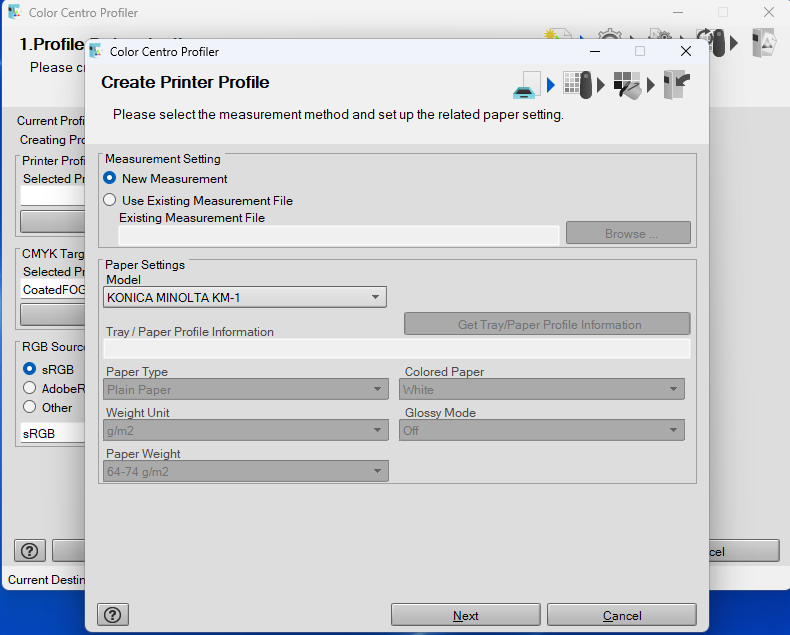
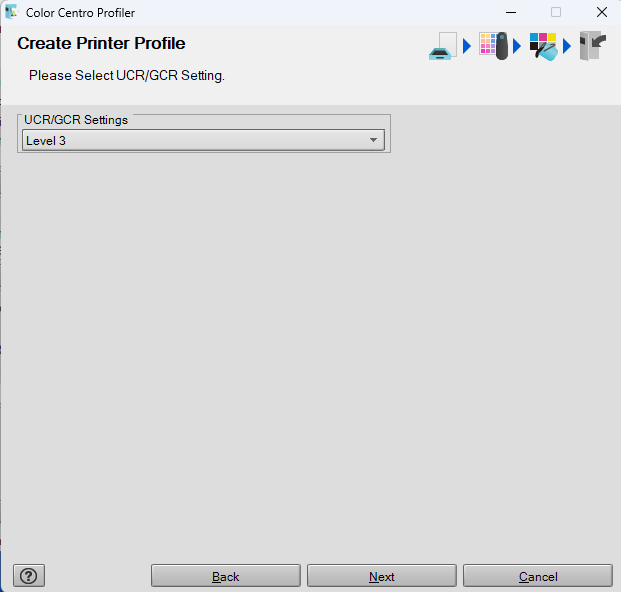
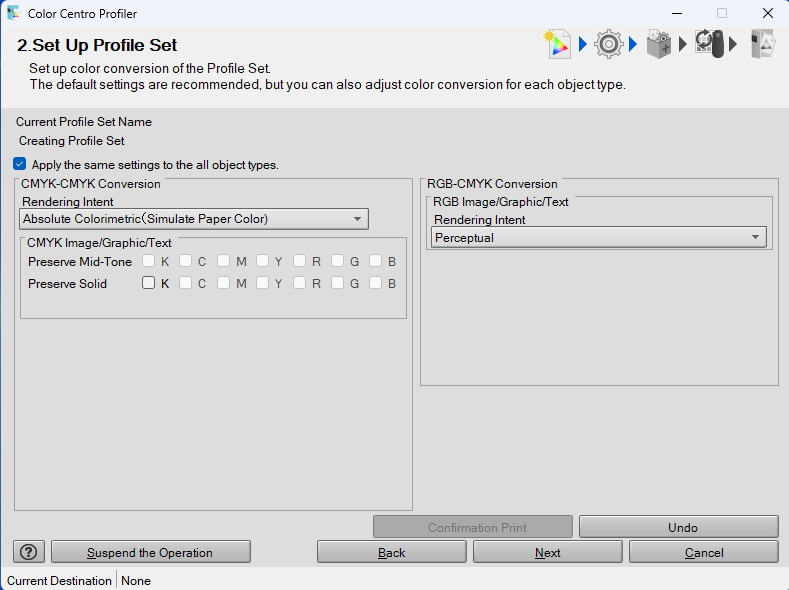
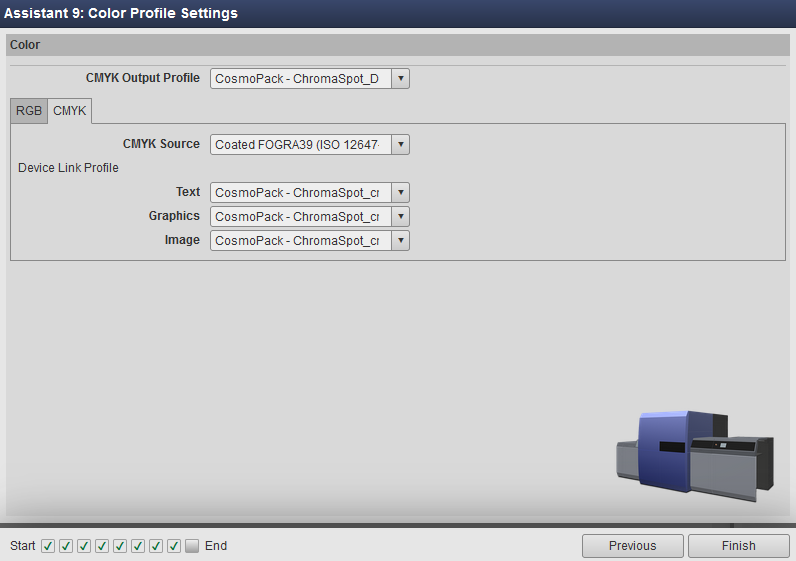
We can specify UCR/GCR Settings according to our preferences.
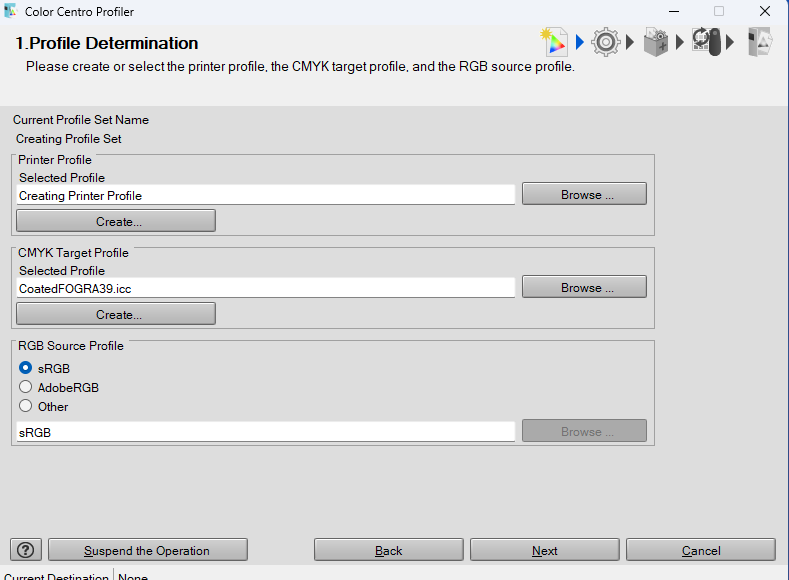
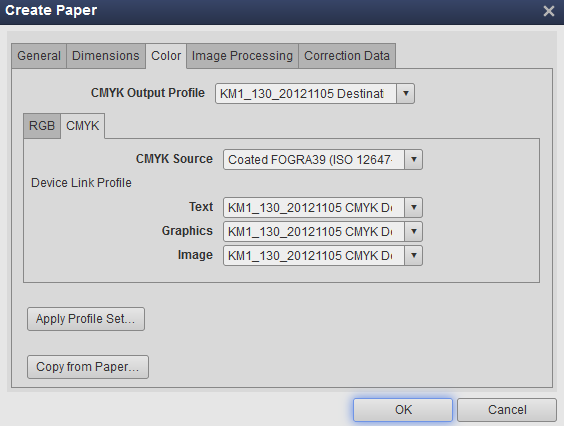
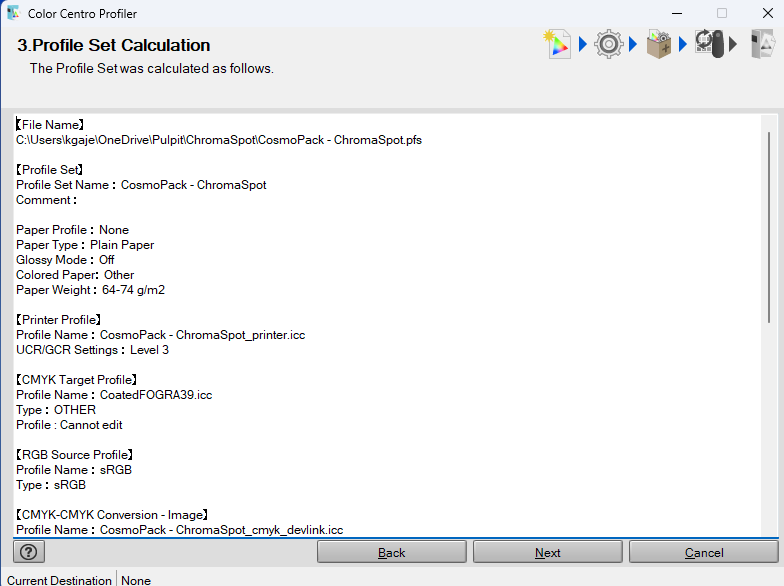
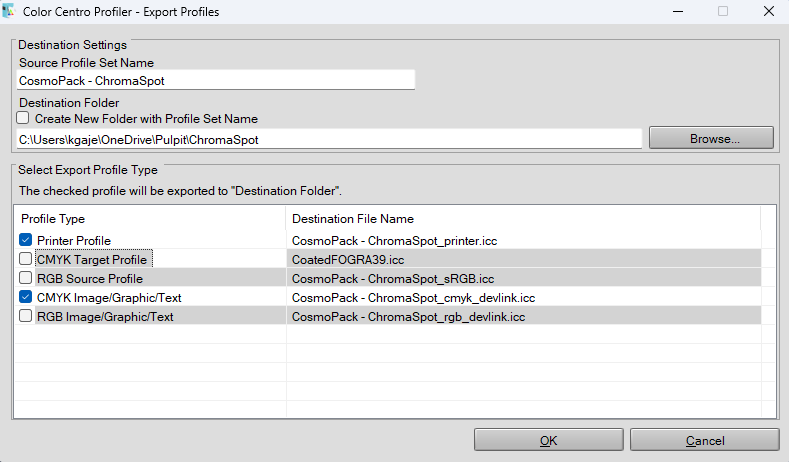
In this example, the system for standard CMYK production will apply the Target profile — CoatedFOGRA39.icc. However, we want to use a complete gamut printer profile.
For Color Match Scan, we need CMYK addressing, not narrowed Target space.
Please note:
The system will generate a Printer Profile and a device link profile. For Color Match Scan, we need to select the Printer Profile.
For the highest accuracy, select Absolute Colorimetric Rendering Intent - the same approach we use for proofing.
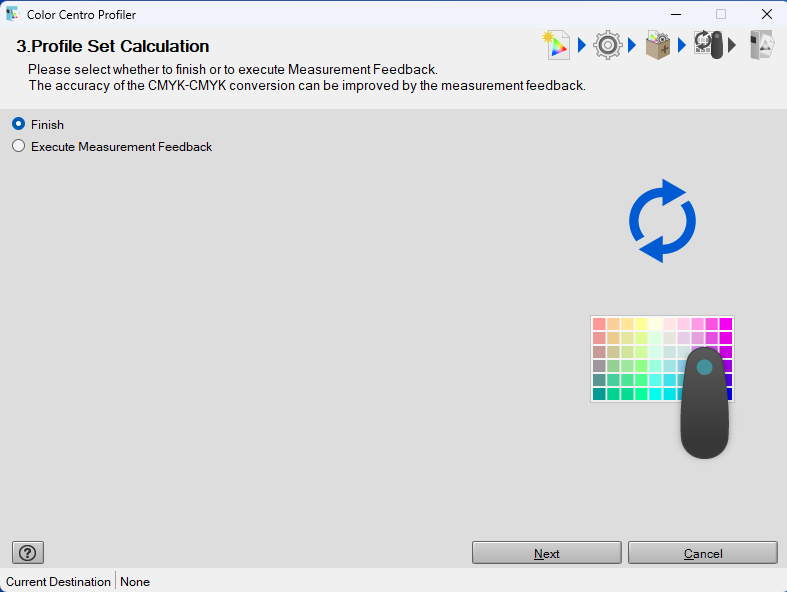
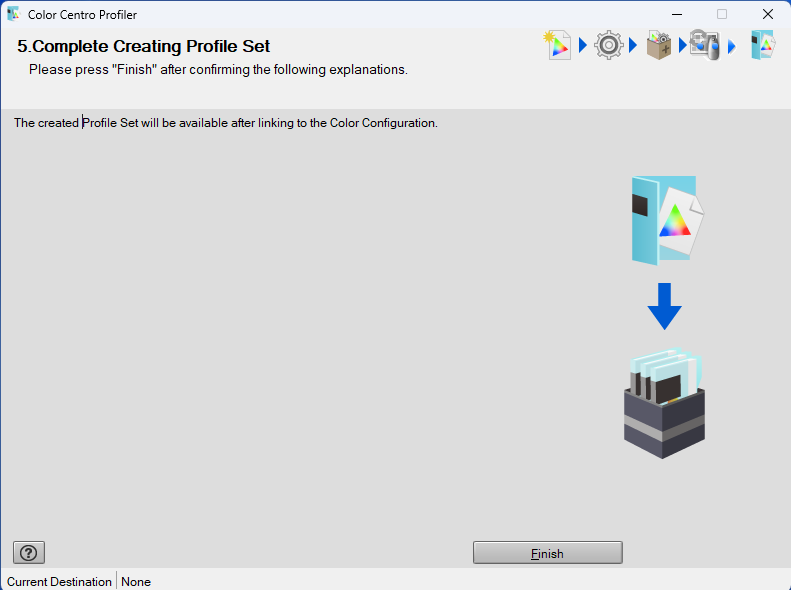
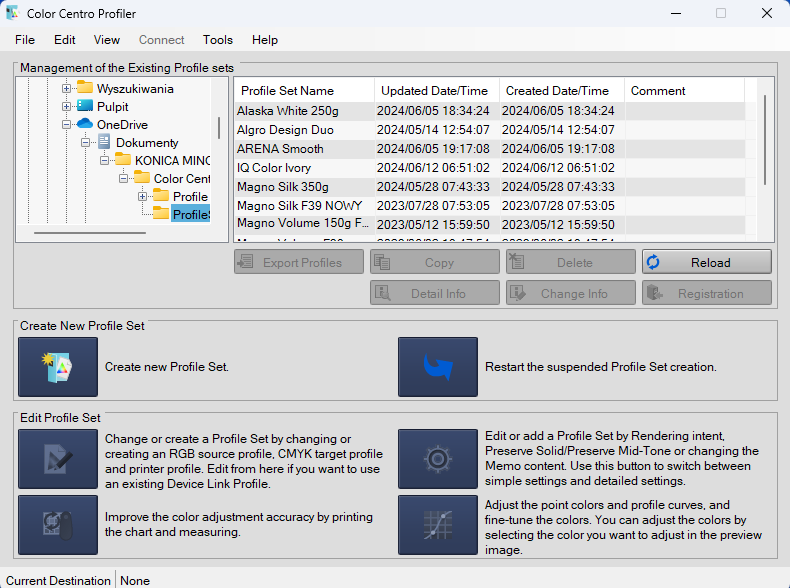
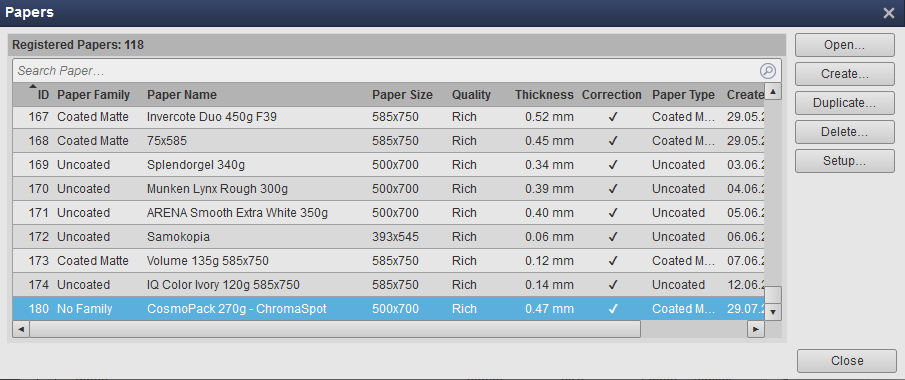
Now, the creation of the Paper Setup is complete.
The new paper is listed.
Upload just generated ICC profile to your ChromaChecker account.
The first on the list is a Printer Profile - - select it for uploading to the ICC Profile Inspector.
Uploading ICC profile to ChromaChecker Cloud.
On the website interface, click ICC Profile Inspector and then hit the green "plus" button in the top right corner.
Before uploading the ICC Profile to a ChromaChecker account, we recommend creating a dedicated subfolder to organize profiles. In the third column, specify the directory name and hit the "Create" button.
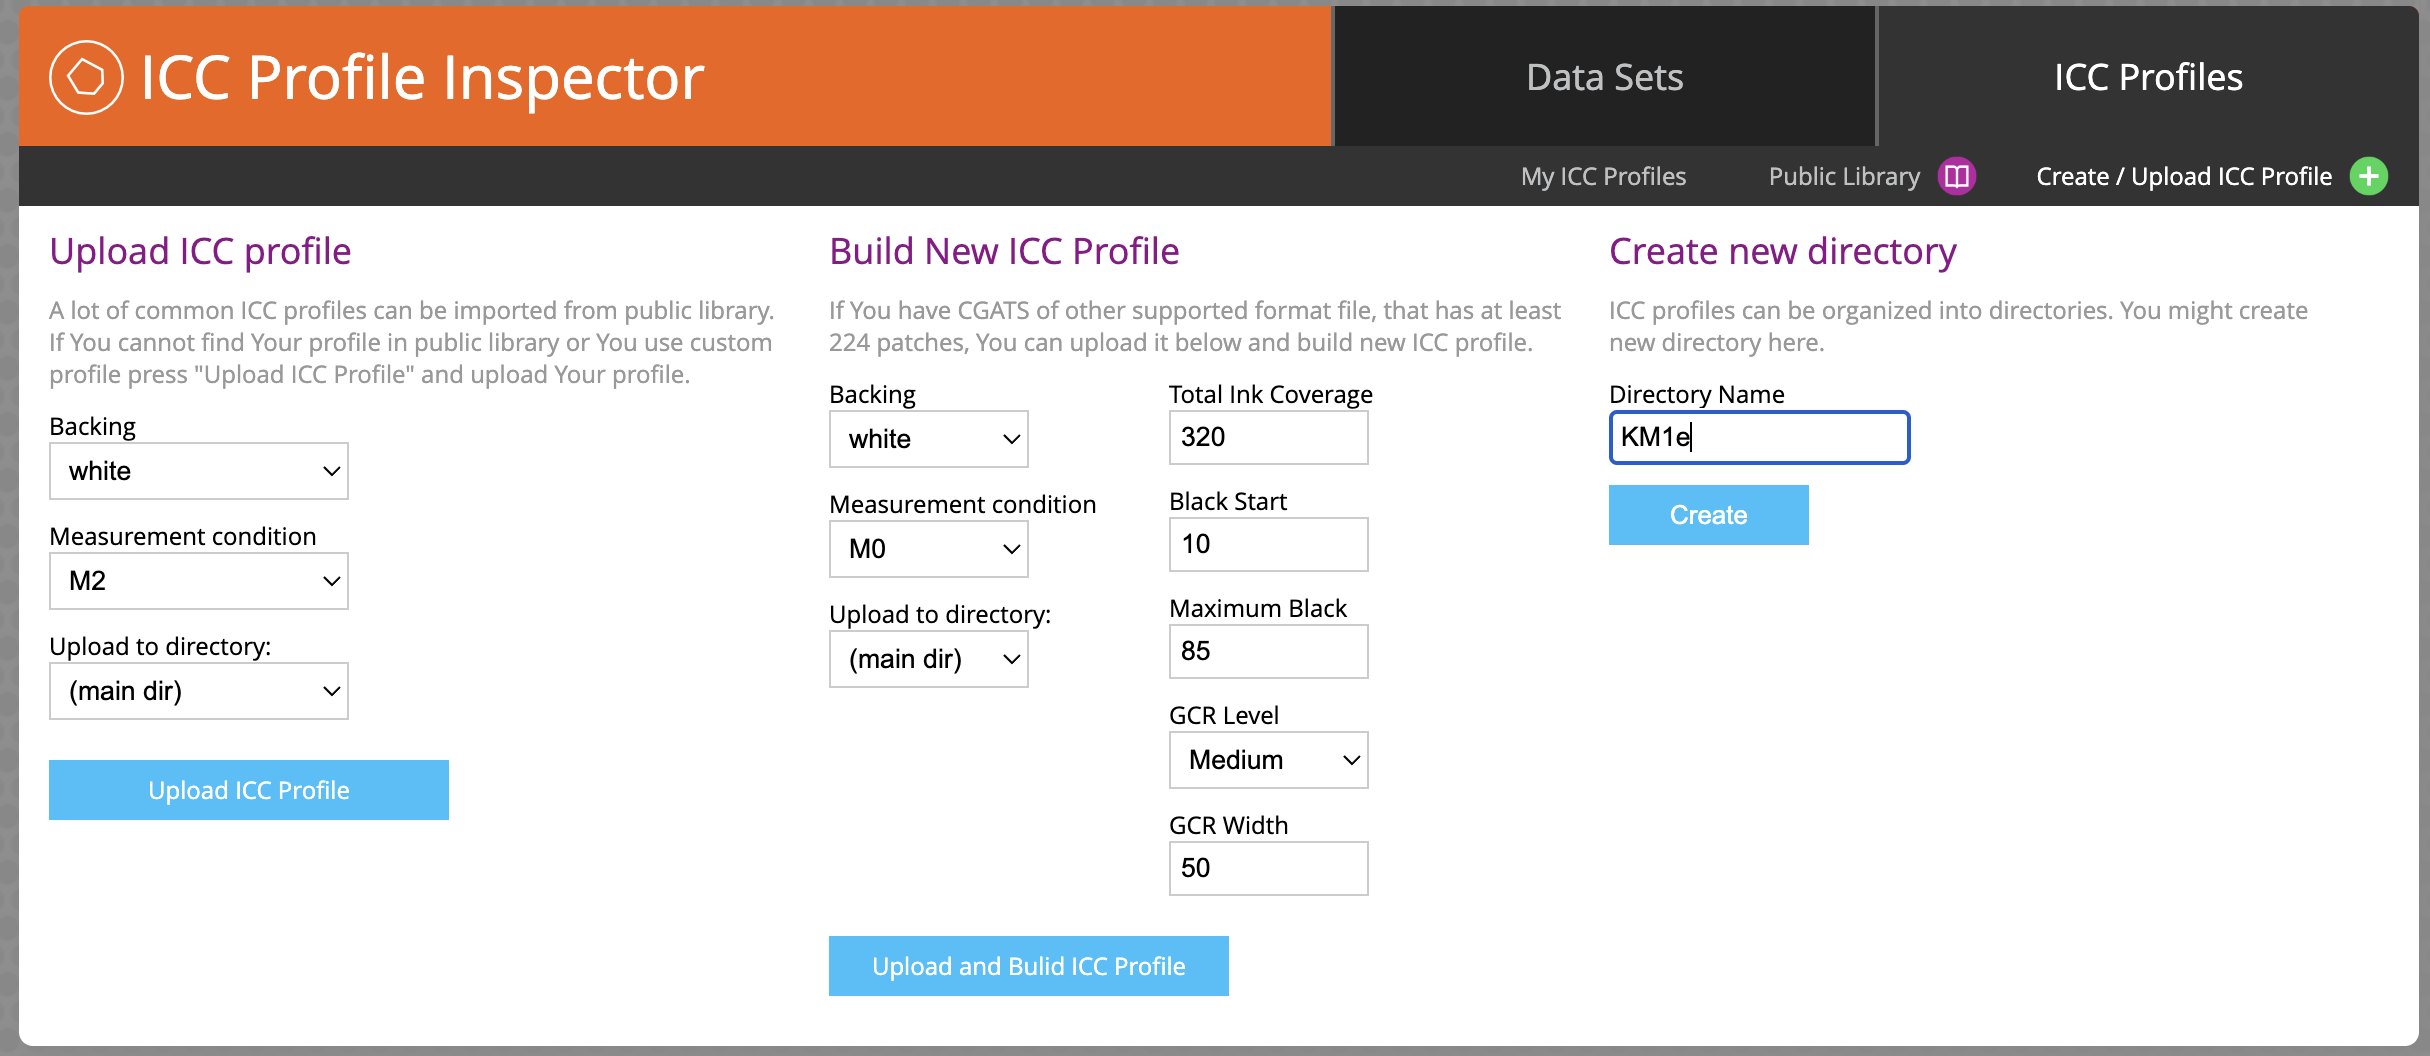
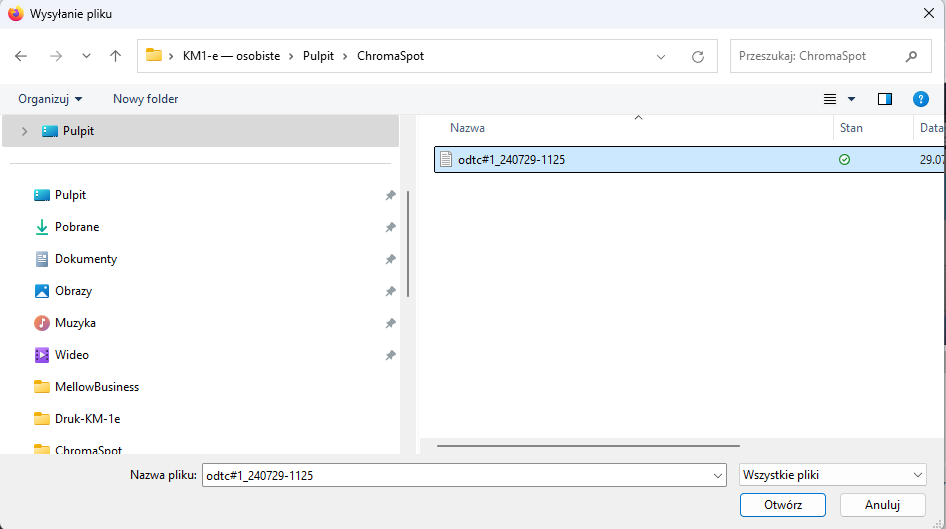
Next, specify the M-condition; in this example, M2. Next, select just the created directory and point to the ICC profile on your hard drive to upload.
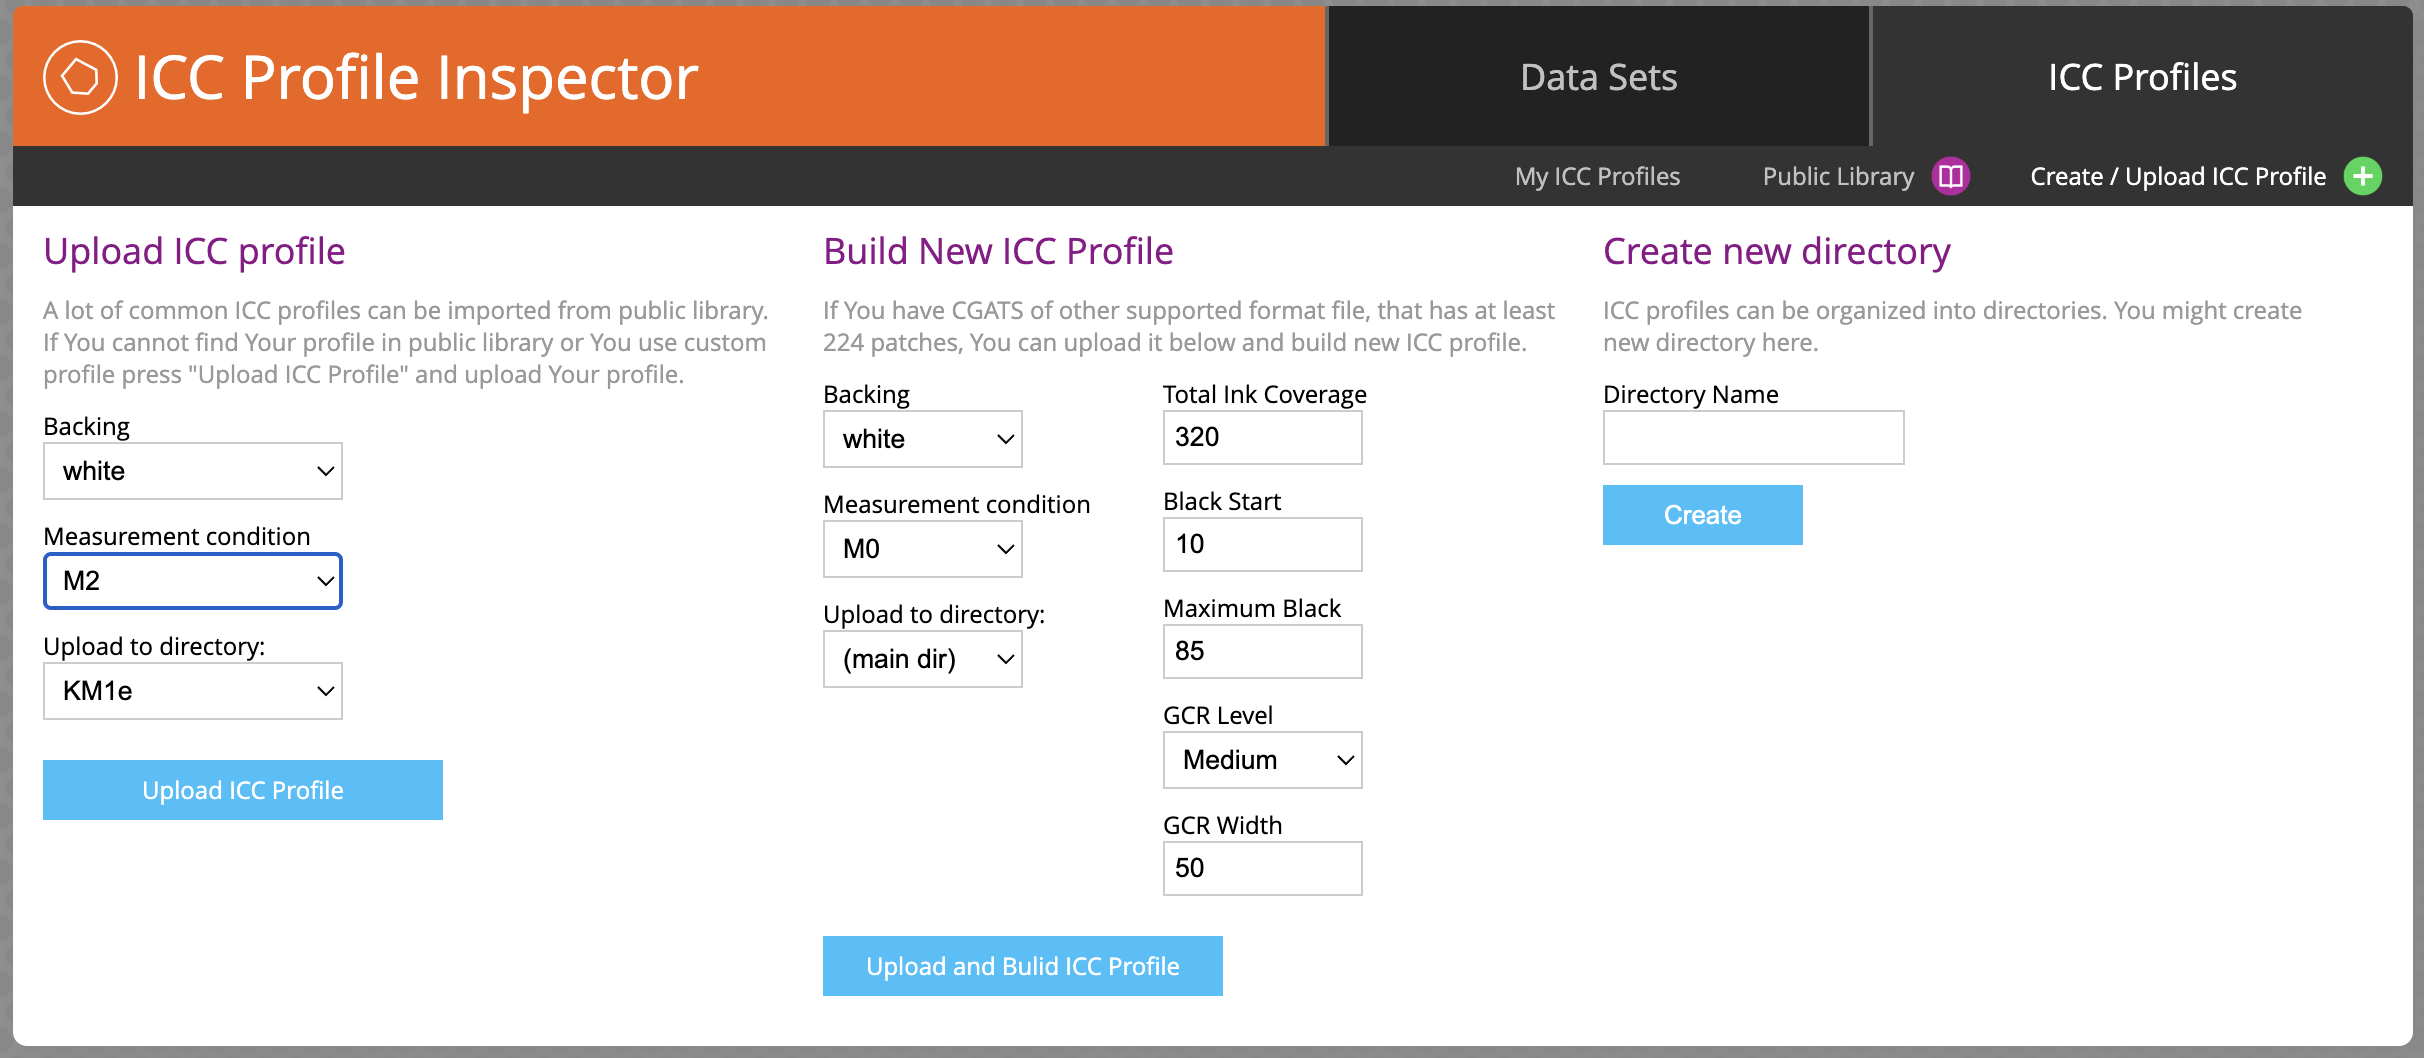
Done!.
From this moment, ChromaChecker Color Match Scan and all other ChromaChecer tools can use this profile.
Using ChromaChecker Color Match Scan (CC Capture).
This procedure is described in a separate document here.
Contact ChromaChecker Support
Additional information and Support Form is available for logged users.