Offset Benchmark - Test Form 1
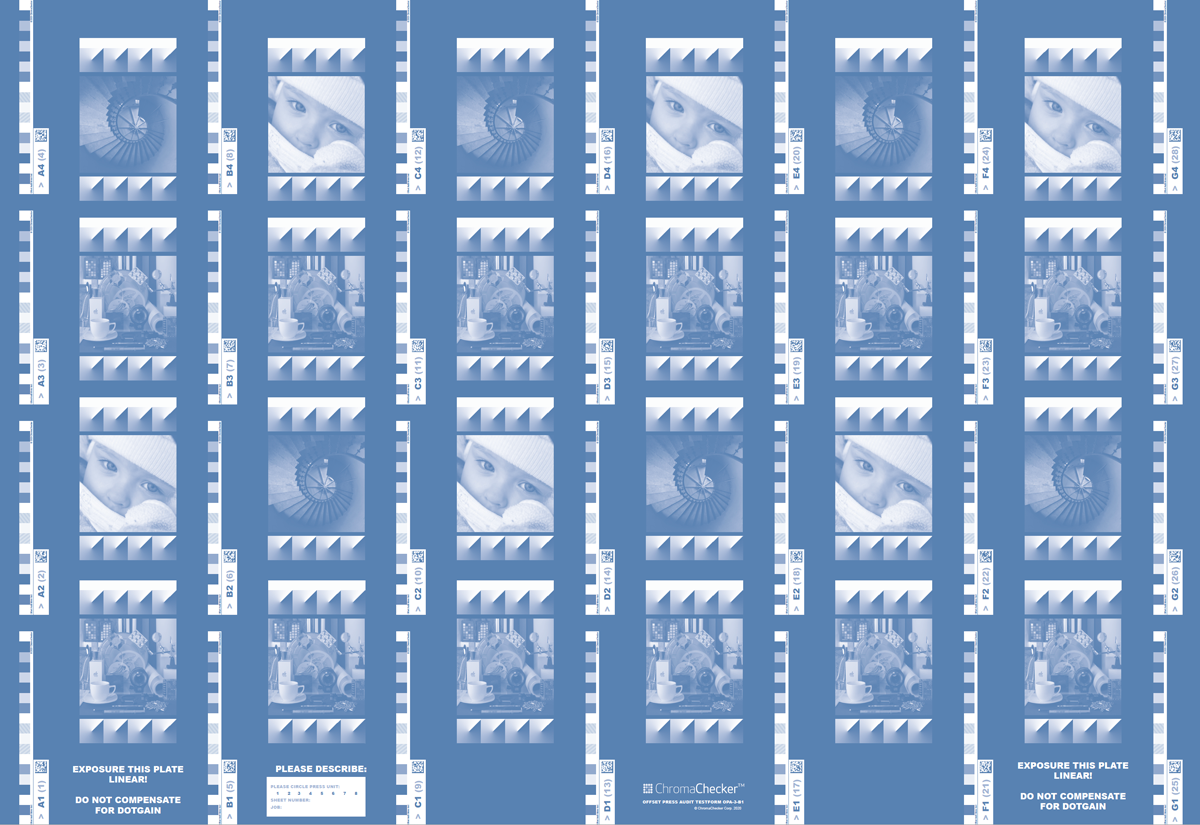
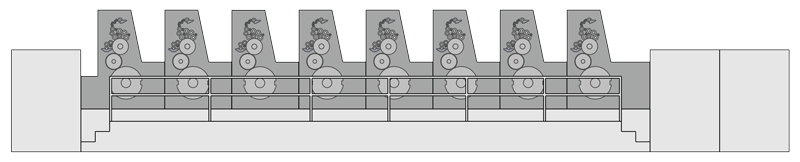
Test Form 1 consists of evaluating each press unit's capability to image color compared to all other units. This test requires multiple single-color printing runs, one for each unit, using the same ink (recommend cyan), and the same plate eliminating any possible variables. Each printing unit is tested independently and software will compare the result of each unit under the exact same conditions.
We strongly recommend to exposure this plate linear without dot gain compensation. That will document the native TVI (dot gain) of each unit.
| plate | 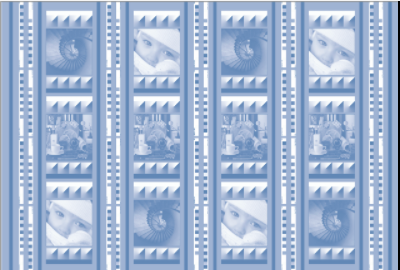 |
|
|
|
|
|
|
|
|
| ink | C | C | C | C | C | C | C | C |
- When printing, the operator needs to pay attention to optimal inking — 100% cyan solid patch should correspond to the same targeted value for 100% cyan ink used when printing test form 1
- Ensure that the fountain solution balance is optimal and stable so that maintaining this balance is under normal, safe conditions.
- When printing, real-time check if the optical density value for the 100% patch in different locations is similar (top/center/bottom and left-center/right) to avoid unnecessary waste of raw material.

In the example shown, the "monotest" control strip consists of patches:
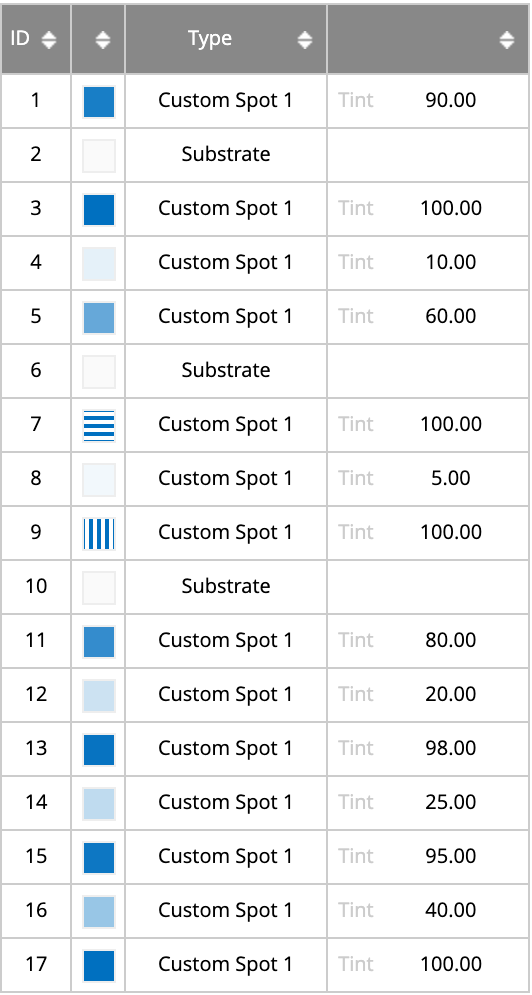
The sheet layout in the presented example is 4 rows by 7 columns - the "monotest" is repeated 28 times across the entire sheet. The "monotest" control strip is published in Capture Control Public Library - import it to create a Scanning Template.
Slurring-doubling detection
Two SD patches in the middle of the control strip allow you to measure the potential slurring/doubling issue.

Note that internal horizontal and vertical lines are slightly rotated to reduce interference with the plate-setter. Lines frequency is fixed but there is a tricky method to adjust it to printing technology.
Note that S/D patches some instruments can be measured improperly in scan mode. Repeat measurement in spot mode to get more accurate results. Take into account that a lot of slurring/doubling issues are created when the sheet is printed by more than one unit. This test form is NOT detecting all types of S/D problems. Four colors S/D form is mandatory.
Auto Naming (require compatible barcode reader)
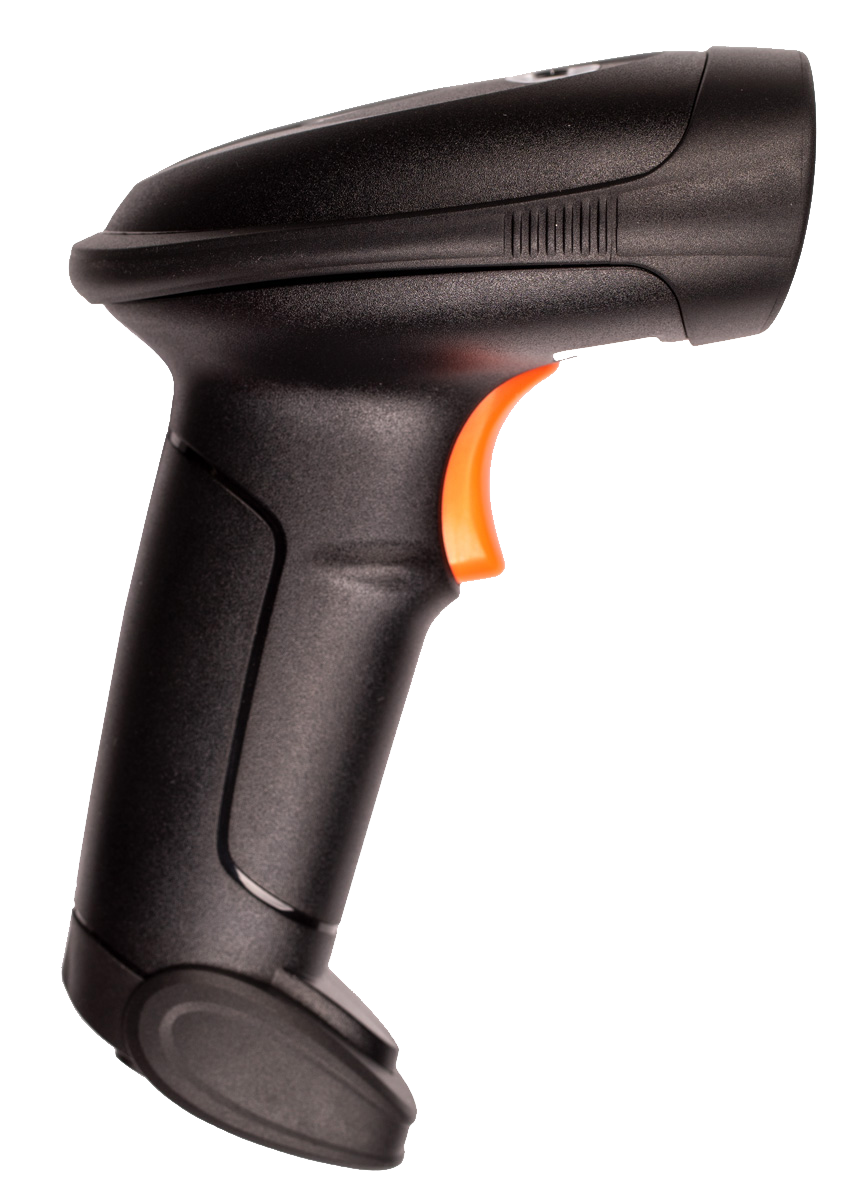
We strongly recommend using the CC-2D Barcode Beader to apply the naming convention required for an effective analysis. Every single location on the sheet has a unique DataMatrix code that is automatically entering measurement description

close-up of the test form (left side, columns A and B, row number 3)
Barcode string (sample on the left side): %C#AA3 is interpreted as a parameter that automatically enters the "Customer" field with value: #AA3 where #A is the prefix for the planned automatic audit feature. This prefix can be used for data filtering.
To describe sheets use another info field "Job-ID" - the best way is to print small labels and stick them to sheets selected for measurements. To learn more about how to use barcodes for automatic measurement descriptions consult the manual.
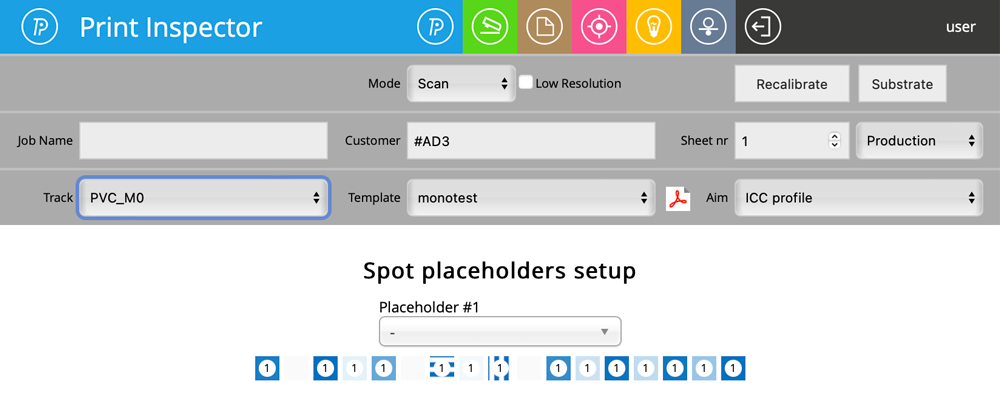
CC Capture interface with Cyan ink assigned as a placeholder for "monotest".
Fied Customer filed with #AD3 - D3 position on the sheet
An alternative way to recognize measurement (without barcodes)
CC Capture hast build sheet number counter. Each location has a number in brackets (1-28 in this example). If you reset the counter and make measurements in the order defined by numbers on the sheet - the sheet number (in CC Capture and in measurement description) will correspond to a location.
PDFs
Previous NextRelated Topics
Contact ChromaChecker Support
Additional information and Support Form is available for logged users.