QuickStart — Create a new QC Track
The user may create a new Track using any existing Object or create a new one if necessary ( generally when the Product is complex). In this session, we will use an existing Object called: Corporate ABC on the track List select "Add New Track"
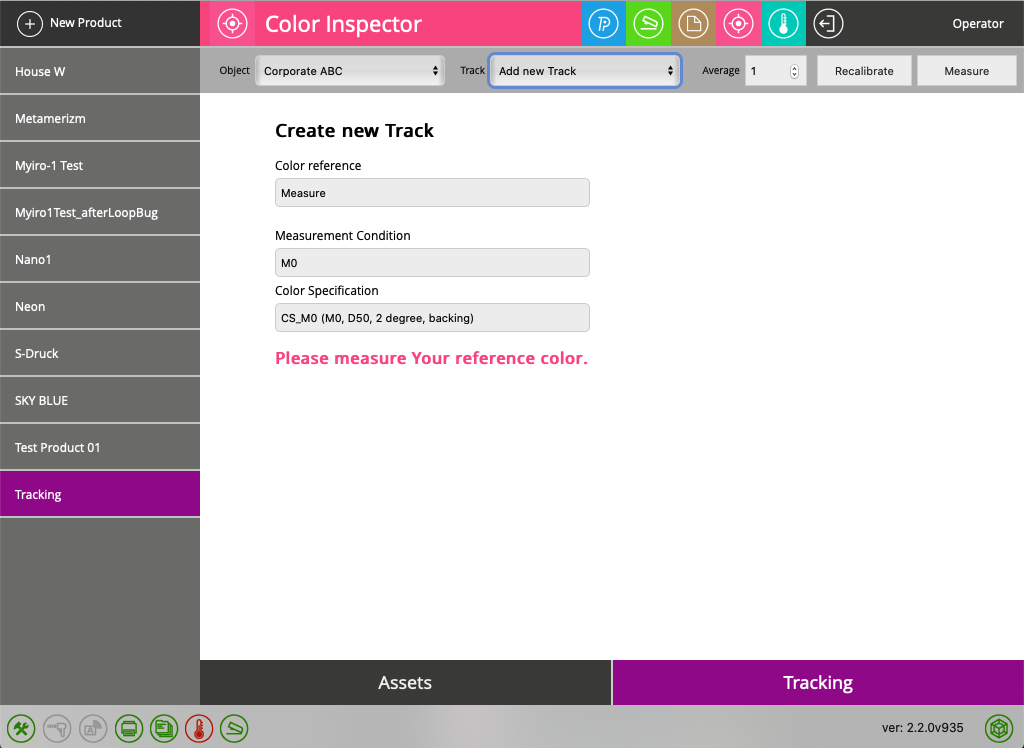
At this stage, we can accept the Color Reference source: "Measure" or by clicking on this option we can change it into a custom L*a*b* or color sample from Assets.
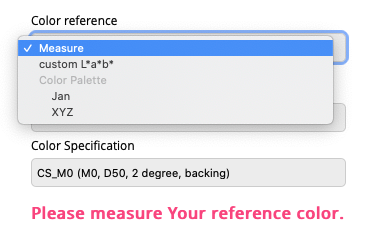
In this case, we can select for example XYZ Palette - and at this moment we can find any sample - e.g. R01
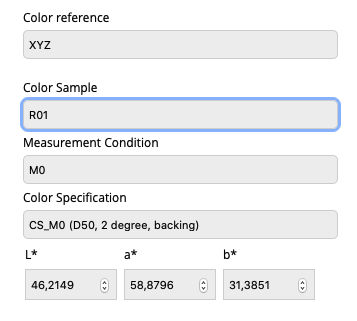
But as mentioned at the being the best way is to use the "Measure" feature
Important at this point is understanding the reference physical sample uniformity. Various specimens may have this uniformity different. The key feature to control uniformity for samples is the "Averaging" feature. For this demonstration value of 5 is practical. Let's compare a couple of examples:
1. Printed Olive Green sample.
The user should create own track (any color)
During averaging when at least two measurements are taken the application is calculating two key parameters that describe sample uniformity: Max and Average ∆E errors.
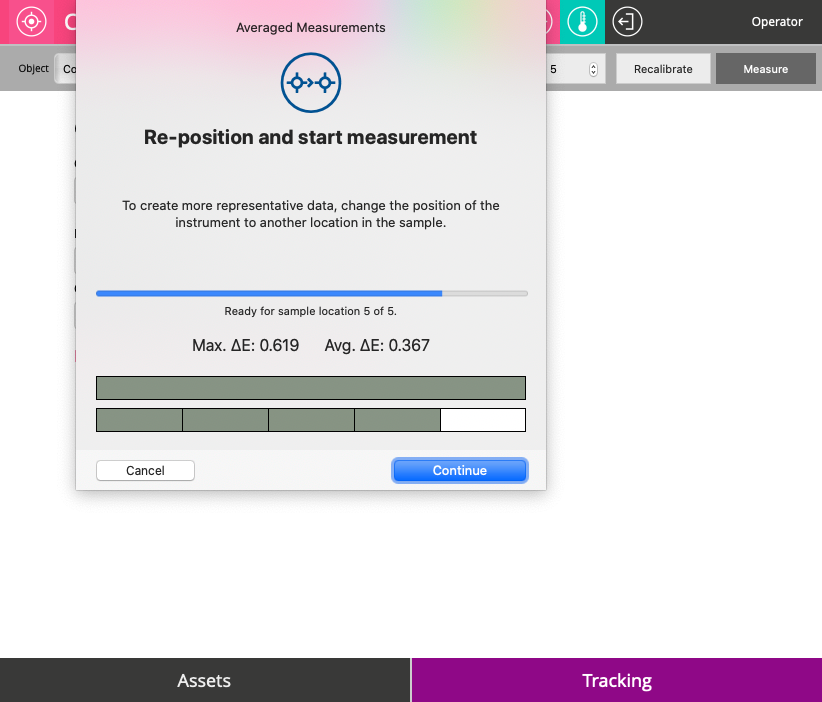
When all measurements were completed Max ∆E=0.9. At this point the user may:
- Name Reference (Olive Green)
- Set up Tolerance (∆E2000 = 3.0)
- Save it (or discard it if averaging values seem to be not as expected)
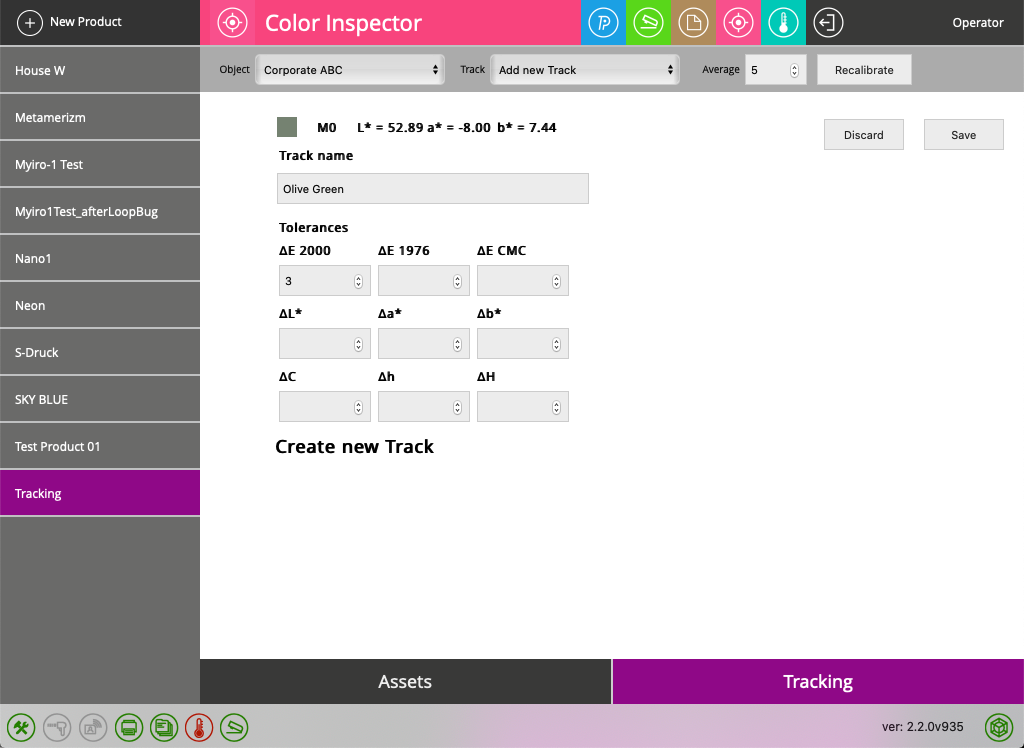
Once saved the application is in ready-to-measure mode. Let's take a series of measurements ( just trigger the "Measure" button) to see the results:
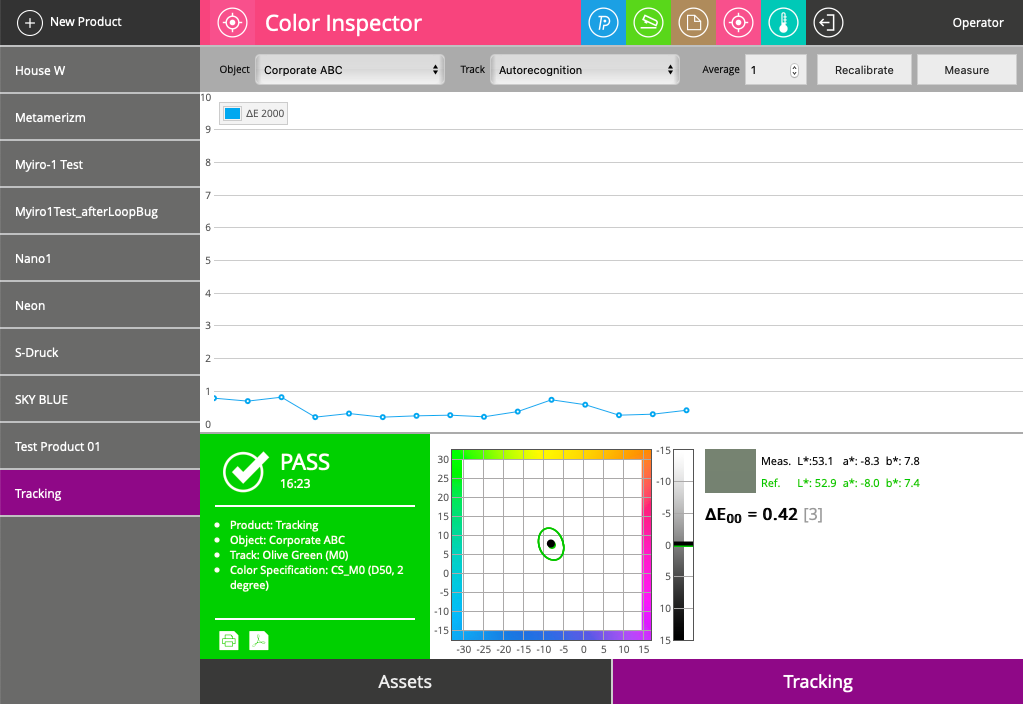
All values are below the Max ∆E Error value, and the numbers look reasonable for process CMYK print.
Our system now can auto recognize Olive Green for a Product called Tracking. Congratulation!
To learn more about different specimen's uniformity let's measure more examples
2. Synthetic leather
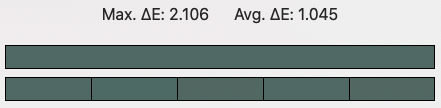
3. PVC film
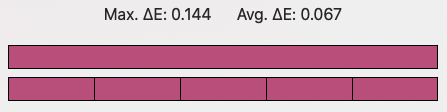
4. Natural Wood
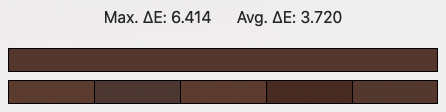
5. Ceramic tile (stone imitation)
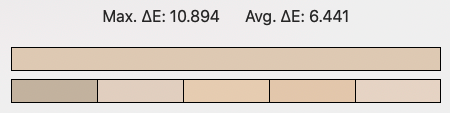
Conclusion
- Don't expect that samples are perfectly uniform - sometimes it looks better than numbers. Take into account that also your instrument is not measuring identical - try to keep it in an unchanged position and repeat the measurement - the best example is to measure Instrument's Calibration Tile (short time repeatability).
- When assigning tolerance - make it a couple of times higher than the Max ∆E error - about the same value is not reasonable!
- Single ∆E Tolerance (even for ∆E 2000 formula) might not reflect boundaries of acceptable differences. We strongly recommend trying Snowflake to create tolerance definition that can better works especially for demanding users.
Contact ChromaChecker Support
Additional information and Support Form is available for logged users.