Step 1 — Import Color Library
Load your brand's CxF color specifications into ChromaChecker Color Inspector.
Open Color Inspector
Log into ChromaChecker and navigate to the Color Inspector. From the Dashboard, click the TOOLS button in the top-right corner and select Color from the Inspectors submenu.
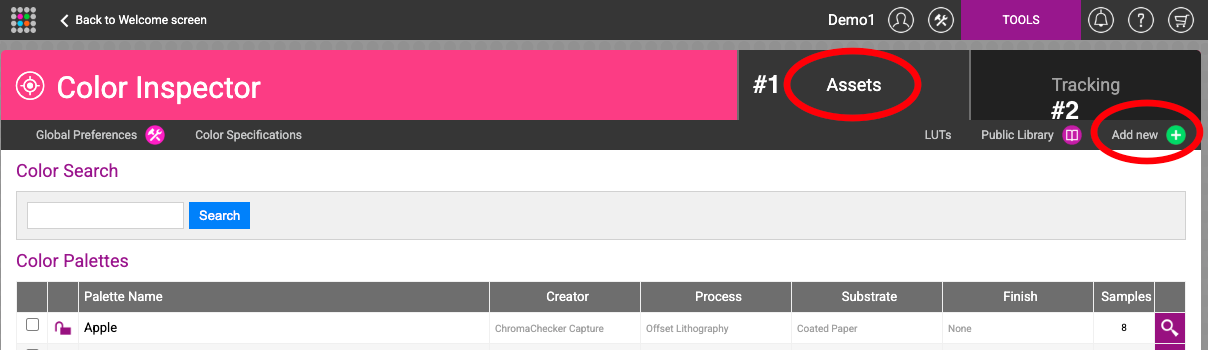
In the Color Inspector, make sure you are on the Assets tab (#1). You will see your existing Color Palettes listed here.
Add New Color Library
Click the Add new button (#2) in the top-right area of the Assets tab. The 'Add new Color Library/Palette' panel will open.
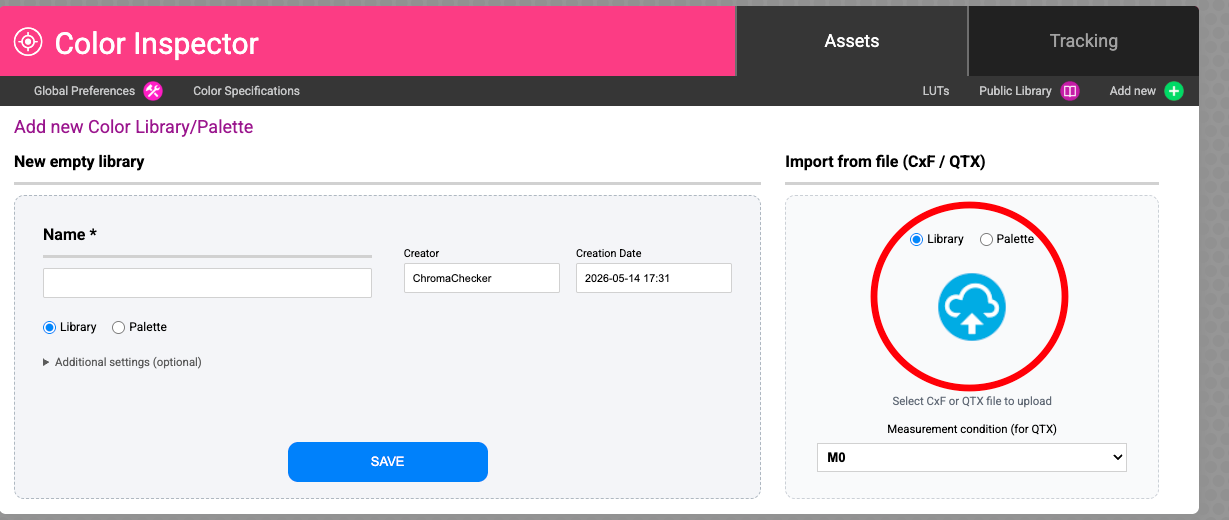
On the right side of the panel you will see the Import from file (CxF / QTX) section. Click the cloud upload icon and select your CxF or QTX file.
- Select Library (not Palette) in the radio button above the upload icon.
- Click the cloud upload icon to browse for your
.cxfor.qtxfile. - Set the Measurement condition (M0, M1, M2, M3) to match the condition used when creating the CxF file. If unsure, use M0.
- Click Save to import the library.
What Happens Next
Once the library is imported, each color in the library is available as a reference standard throughout ChromaChecker — in Project Inspector, QuickChecker comparisons, and tracking reports. In the next step you will create a project and link this library as a color standard with pass/fail tolerances.