Step 2 — Create Project & Add Color Standards
Set up a Project Inspector project and link your color library with pass/fail tolerances.
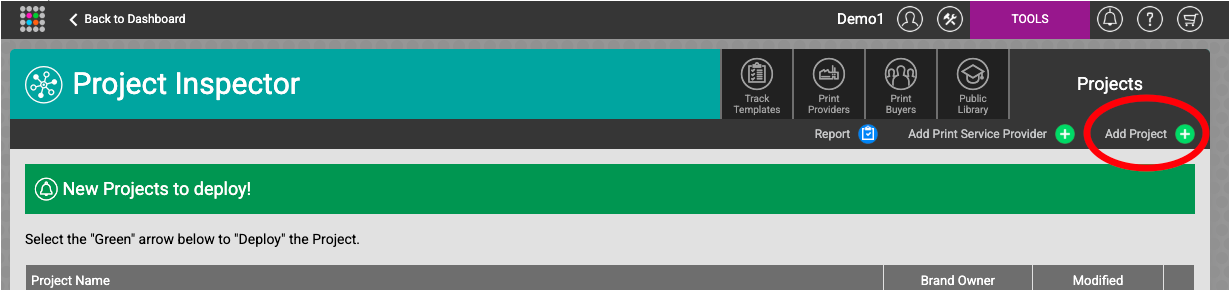
Navigate to Project Inspector
From the ChromaChecker Dashboard, click TOOLS in the top navigation bar to open the Inspectors menu. Select Project from the list.

Add a New Project
In the Project Inspector, click the Add Project button in the top-right corner.
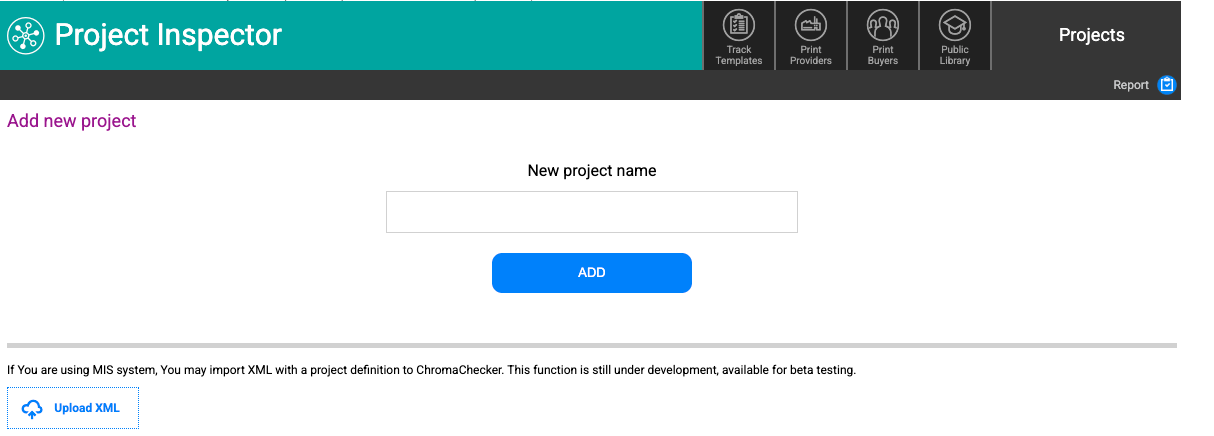
Enter a descriptive project name (for example: BB Spot) and click ADD.
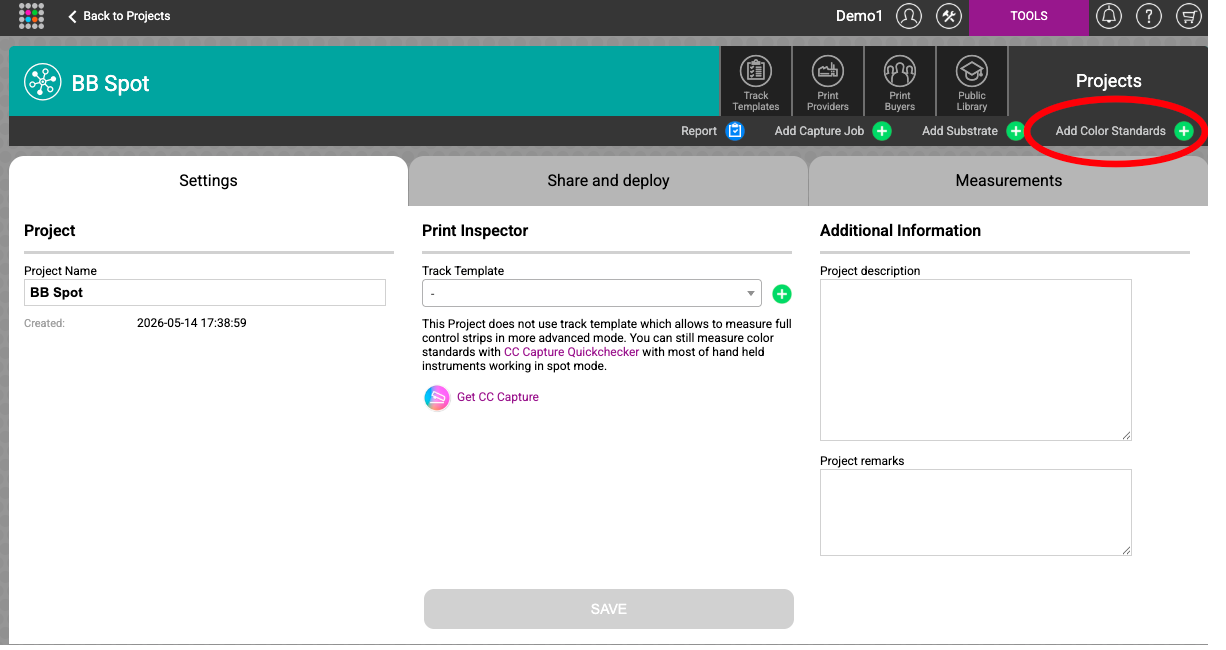
Add Color Standards
After creating the project, you will be taken to the project Settings tab. Click the Add Color Standards button in the top bar to link your color library.
Select the color library you imported in Step 1. The colors from that library will now appear in the Color standards section of your project.
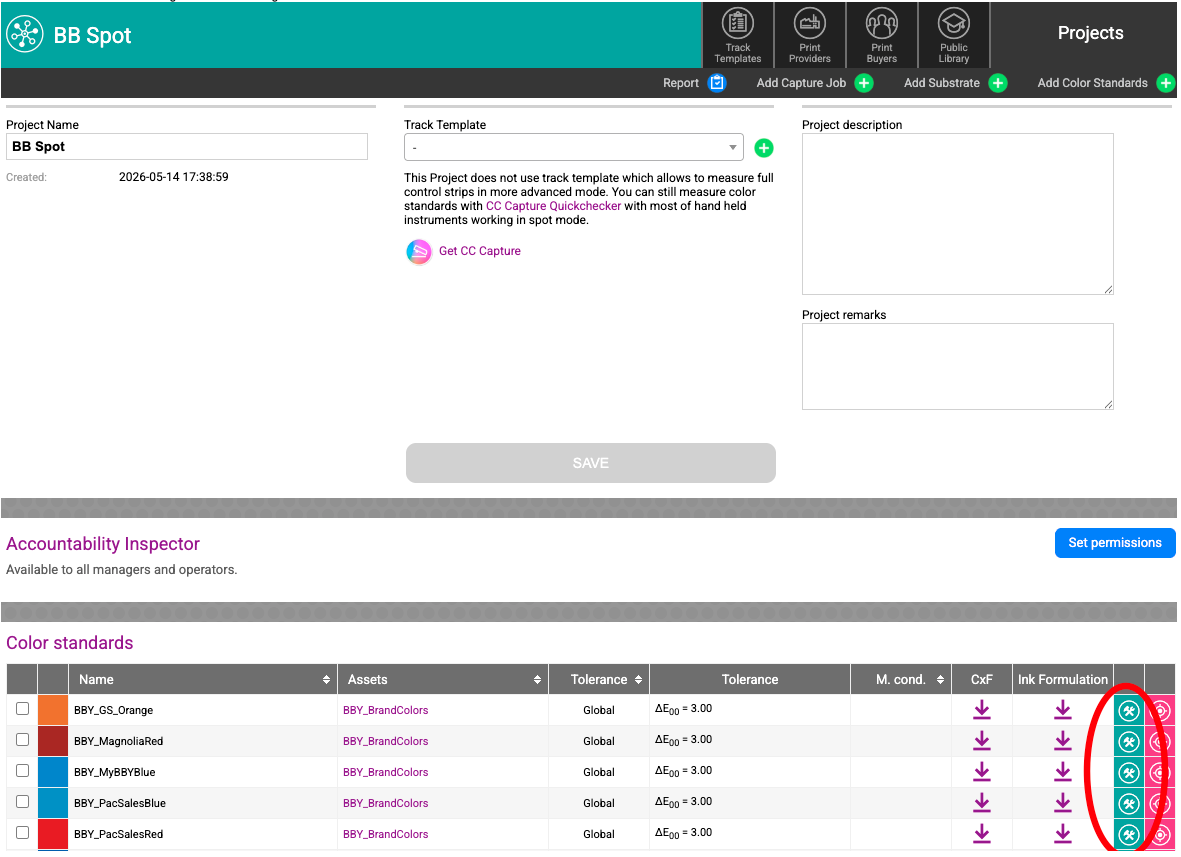
Each color standard shows its name, linked library (Assets), and the current tolerance setting. By default, tolerances are set to Global (ΔE₀₀ = 3.00). You can customize tolerances per color or per project in the project settings.
- The Tolerance column shows the ΔE formula being used (default: ΔE₀₀).
- The Global label means the project-wide tolerance applies. You can override it per color.
- The CxF and Ink Formulation download icons let you export reference data for each color.
What Happens Next
Your project is now configured with brand color standards and tolerances. In the next step you will open CC Capture, connect your measuring instrument, and take spot color measurements against this project.